Monday, February 3, 2014

Kindy shorts and a backpack.

This is a first for me.  I am blogging this from my new phone and just crossing my fingers that it is going to work.

Our number 3 child started kindy last week, and although he has no need for new clothes thanks to the generosity of some dear friends hand me downs, I felt I still needed to sew him something to mark the occasion.

So I decided on a back pack and pair of shorts. 

The shorts were made using a Japanese sewing pattern from "Happy Homemade Kids", and the bag made from a Spoonflower fabric that I can't quite remember the name of printed on a heavy cotton twill.

Sunday, January 19, 2014

Butterick 5526 - My first attempt at a collared shirt.

I've been doing a little bedtime reading lately.  My book of choice; "Shirtmaking" by David Page Coffin. - "Developing skills for fine sewing".  I purchased this book many years ago with the intention of becoming a proficient shirt seamstress. ;)  When it arrived, I was a little shocked that someone could write a 173 page hardcover book entirely about sewing a shirt!  Is it really that difficult? Is there really that much to know?  I think I was a little put off by the expanse of information and decided to put the book and my shirt-making ideas aside.


Fast forward to 2014 - The year in which I challenge my sewing skills!  I have decided that it is time to read the book and sew a shirt.  So far I have only read Part One of the book, which includes the chapters "The Materials of Fine Shirts", "The Shirtmaker's tools" and "The Classic Shirt".  Let's just say that I am a little impatient and wanted to get started on my first shirt.  I probably should have read Part Two before starting because "Making Shirts Fit", "Developing a Basic Pattern" and "Collars, Plackets, Cuffs and Pockets" would most likely have been very useful chapters to have read before commencing!


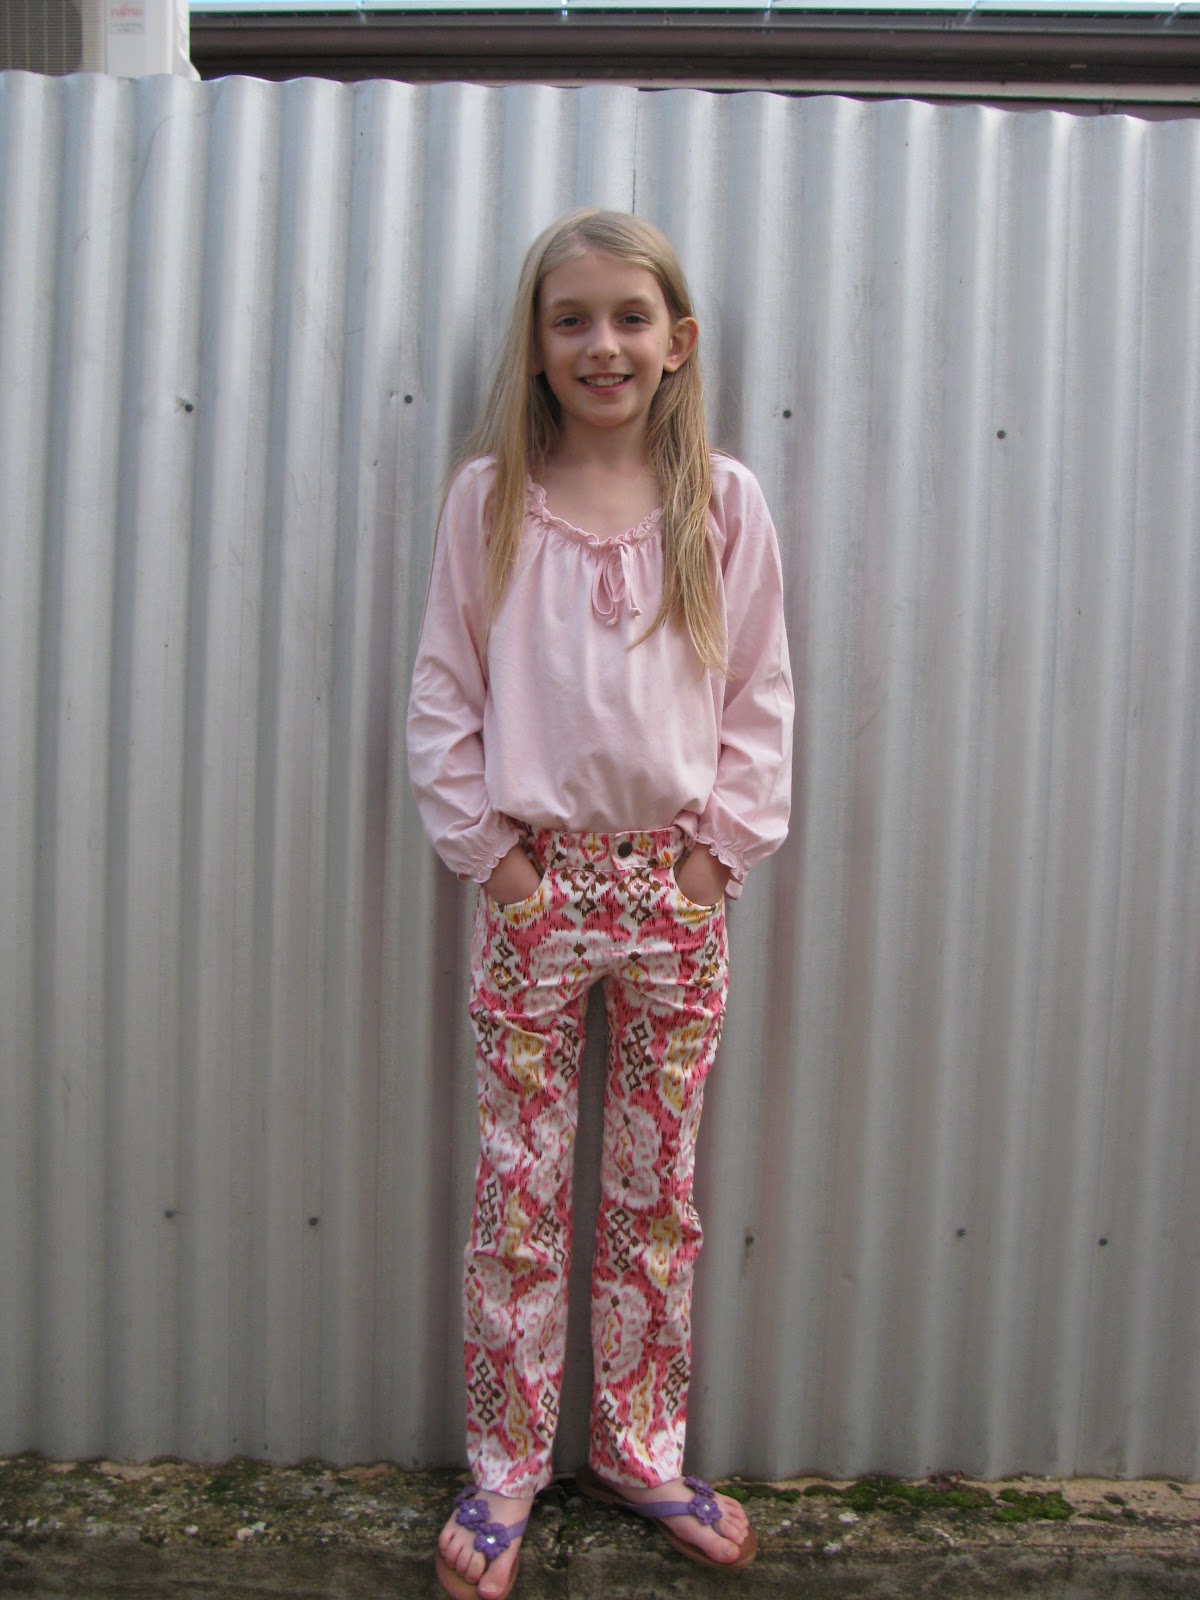
 Anywho,...here is the pattern I chose to make.  Butterick 5526 and I chose view B but with the D length sleeves.  It is a basic shirt with no dart shaping or back yoke or even pockets!!  I could have chose to put some on but really I just wanted to see how I went with sewing a collar.


And I am happy to say that the collar posed no problems at all.  The issues I had were with the sleeve plackets!  I don't know what I did wrong (I will have to consult Part Two of my book) but they looked really weird.  Luckily for me I choose to wear my sleeves rolled up most of the time so no one should notice.  I used a shot cotton that I have forgotten the name of but it has a pink-green thread colour that you can see better in this close up photo.

In his book, David recommends that a light weight cotton be used for interfacing the collar and cuffs etc. instead of the iron-on interfacing.  I decided to take his advice and used a white cotton batiste that I basted to the appropriate pieces before construction.  I must admit, I think this gives a softer and nicer finish than iron on interfacing.  Yeay, I'm learning stuff!


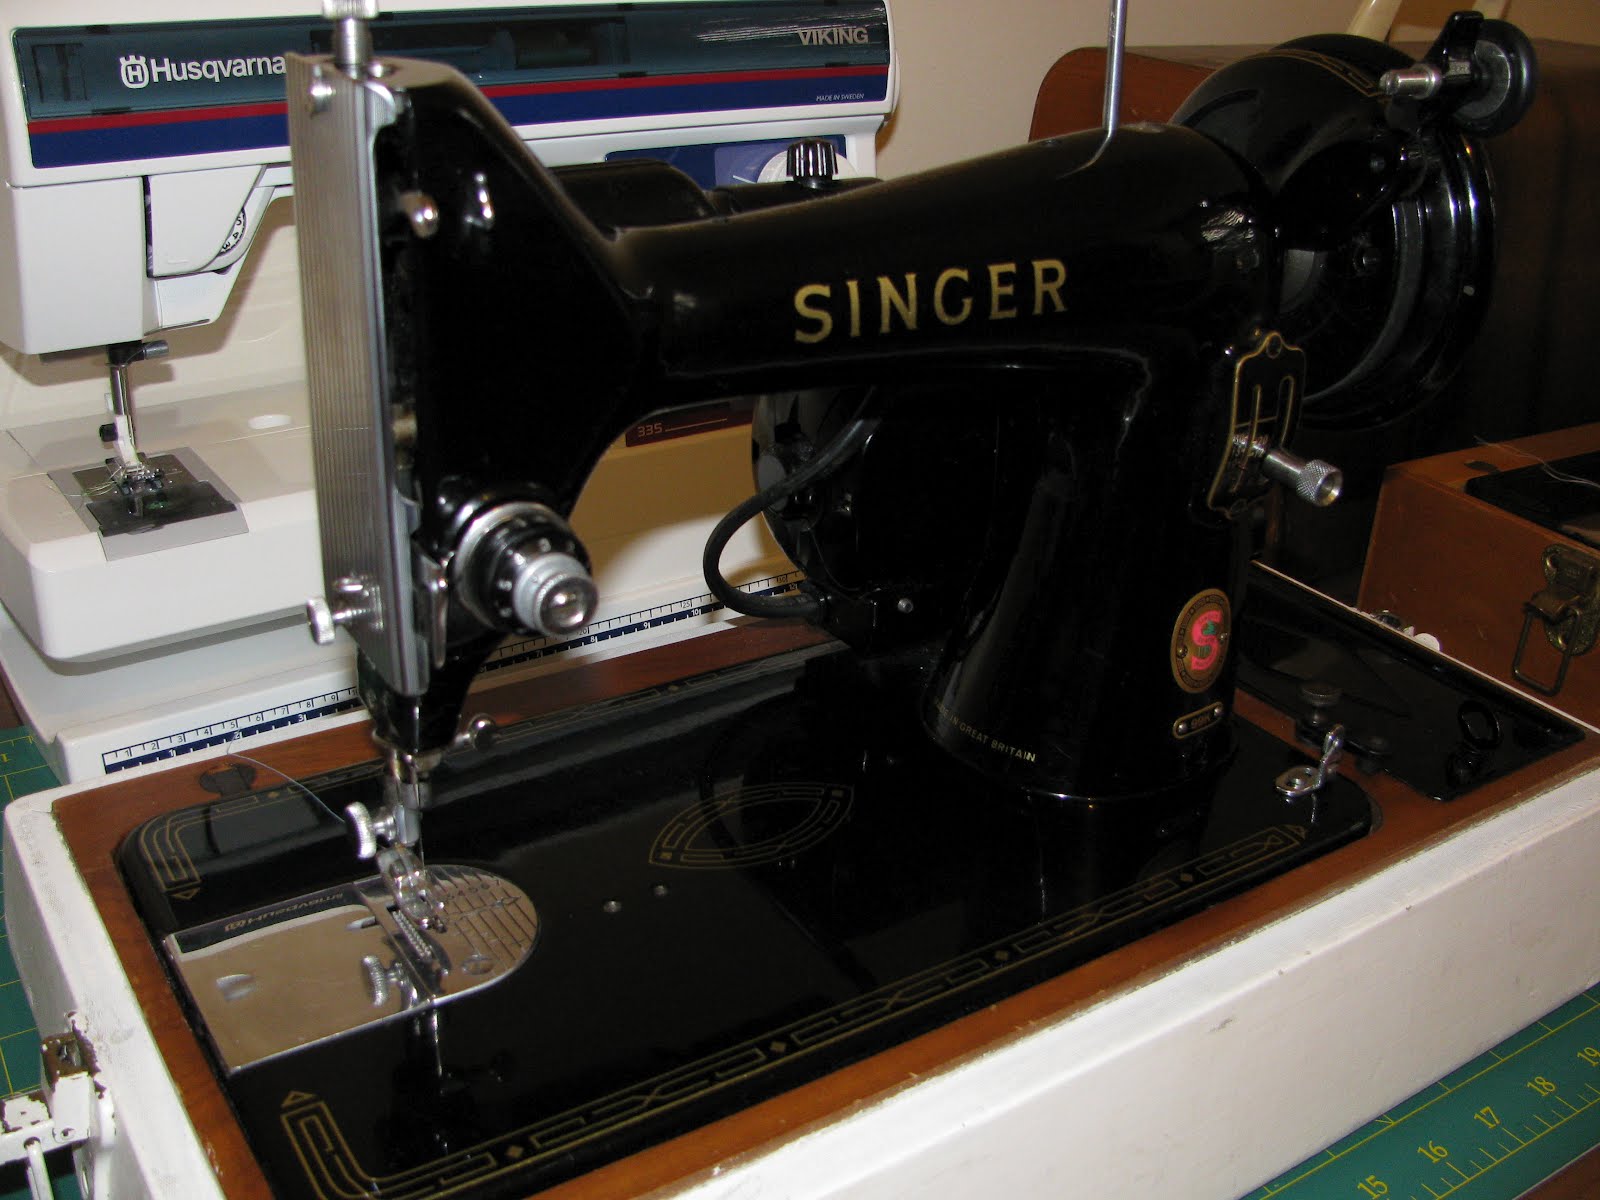
I would like to mention here that I sewed both the shirt and the duffle coat from my previous post on this beautiful machine.  It's a knee-lever operated Singer 201 that I picked up for a steal at an auction and she sews beautifully!!  Forward and reverse straight stitch only, but she does this with such class and style.


As for the pattern.  I do think the collar is a little large and I think a little more shaping might be nice, but overall I'm pretty happy with my first attempt.

Thursday, January 9, 2014

Ottobre design 6/2012 "Puunappi" - a duffle coat for B.

Hi folks! Remember me?..... Ahum, yes, it's been a while.  More than 18 months since I last blogged! Oh well, that's life - live with it.
I thought about starting a completely new blog dedicated entirely to sewing, but I enjoyed reading back over old posts so much that I couldn't abandon this one just yet.  So here I am again with my latest creation. A duffle coat for my youngest boy, who is now TWO!! Can you believe that?! Where does the time go?.......

 I know it is completely out of season but I have had the pieces for this duffle coat cut out for a long time, and one of my new year resolutions is to finish a project before starting work on another. (Yeah, Ha! We will see how long this one lasts!) 

For this coat I chose to use some op-shop thrifted woolen fabric for the exterior, and some flannel fabric from my stash for the lining. I think the most expensive part of the whole project was the buttons!  I prefer to use recycled buttons when I can, however, I really thought this coat needed wooden ones and I had none, so I had to make a trip to Spotty for them. Oh, and the separating zipper was also bought new.

The coat came together reasonably easily, although I did have to unpick several seams when trying to insert the lining into the shell.  Being an Ottobre pattern there are never any pictorial instructions, only written ones, which are often a bit obscure, so I did my best to understand them, failed, and re sewed it the way I believed it would work.


I put in a little extra and hand worked the buttonholes.  Partly because my vintage Singer buttonhole attachment wasn't performing at his usual best. (Perhaps the fabric was a little thick?)


Overall, I am very happy with the result.  Hopefully it will get a bit of wear next winter.  Next on my "to sew" list is a collared, button up shirt for me.  I have never sewn one before and I thought it was about time!  (Promise to post again SOON!).

Saturday, October 6, 2012

I know, it's been a long while...where does the time go?...

Here are a few happy snappies of what's been happening these last few months.....

We had a proper family photo taken! Yeay! The first one in 10 years! I even worked at matching our clothes. I think it turned out pretty well.


We have bought a family iPad which I have enjoyed taking photos with (as above) and I am currently writing this blog post with it! So please bare with me as I fumble my way through it. I'm not the world's most tech-savi person.

Bobby has grown two teeth!!! And a third is well on its way. So cute! And speaking of cute, my little boy has had his very first haircut! All those blond curls gone!! (sob), but what a handsome little boy!

In August we hatched some quail. Or, at least the incubator did! They have all grown up now and been sold. Did you know that quail reach maturity at 6 weeks of age? They were amazing to watch and I think we will definitely have to do it again.

And in closing, here is a random photo of my favorite flowers, poppies.

This has really just been an experimental blog post to try new things and see how it goes. So I'm going to upload now and cross my fingers that it works. Here's hoping!


Saturday, August 4, 2012

So so skinny jeans, more pants and textas.


They do say that "it's better late than never"......
These are Eden's birthday pants. Her birthday was in the beginning of July. I am rather pleased with how this pattern turned out. It is an Ottobre pattern quite rightly titled "so so skinny jeans". The instructions specify that the pattern is to fit a child whose waist and hip measurements are 4cm smaller for their height than those mentioned in the size chart. And BINGO! They fit! (with a belt - just to make sure). It is very difficult finding jeans for a skinny child. Adjustable waist pants when pulled in to the max stay up okay but aren't terribly comfortable with all those gathers. This was also only my second attempt at a true zipper front for pants and it turned out much better than my first attempt.


Check out the cute back pocket detail (although very tricky to see on that pattern fabric).


Eden likes them, so overall, a success.

Here are some more pant that I made last week. These took a whole lot less time and concentration, but how cute is the fabric?


That is all I have sewn lately, but I have a VERY long to do list, so hopefully more to come very soon.

On to what's been happening on a daily basis,...Ross has discovered a love of colouring in! He is passionate about it! Check out these masterpieces;


He likes the monochrome look, - choose a colour and stick to it! But seriously, I'm impressed with how he manages to stay somewhat within the lines, and with his concentration span! I kid not that he has often spent well over an hour colouring in. I now need to buy some more textas as these have very nearly run out of ink!


Sunday, July 15, 2012

Dolman sleeves.

I managed to do a little sewing this week. Using this tutorial I tried to make a Dolman style top. I liked the fact that it was a FAST sew that only required a few seams and no fancy cutting out. Time for sewing these days is extremely rare, limited to an hour or two perhaps on weekends when I have my dear husband to take charge of the four young ones. My usual sewing time is late at night when all are asleep, but lately, dear Bobby has not been sleeping too well, waking up from about 11pm-2am so I have been feeling a bit sleep deprived and low on energy to sew late at night.


It wears okay, perhaps not my favourite style on me, but it is comfy. I used a wool / viscose knit from Spotlight which is ever so slinky - I only hope it washes well. (And, no, I didn't wash the fabric before I sewed it up so hears hoping it doesn't shrink.)

Here's some news!!!!.....
Bobby has his first tooth!!!


Maybe that's why he hasn't been sleeping??.....

Thursday, June 28, 2012

A whole lot of stuff......

Okay. So here is where I try to condense what could legitamately be several blog posts into one. Remember I mentioned that I had bought myself not one but two 1950's electric Singer 99Ks? Well, here they are.....


I am so happy with these purchases! They didn't break the bank. The first one I bought off eBay for the bargain price of $43 dollars, and the second was a steal at $20 from Gumtree! I must admit, I wasn't expecting the second one to even work, however, after a clean and oil, and disassembling then reassembling the tension knob it runs beautifully! I love sewing on these old machines and they can really sew through some tuff stuff!

Exhibit A;
This is the first thing I have sewn on Singer number one. A Tai-Mai style baby sling. At times I had to sew through 8 layers of heavy duty fabric plus wadding and the old girl didn't let me down. (Something I would have never even attempted on my more modern machine). I have been taking Bobby for a walk in it daily and he absolutely LOVES it. So much so that I have to ask my two girls to assist me in getting him into it because he straight away starts dancing the minute I throw him onto my back! (Dancing for him is to rock violently from side to side.)

After the walk!

I am going to have to make another one of these as the design still needs some tweaking. The shoulder straps need to be a lot longer. I can only just tie them up after wrapping them around under his bum. Also I think the whole body part needs to be bigger as he really only just fits it and I would like the straps to come over his shoulders a bit more. Apart from these things, it's a really comfortable way to carry him!

These are the handbags I made for my girls (a while ago now). They were both very happy with them and use them all the time which makes for one happy Mama.


And here are some random school holiday pics -(yes we are on school holidays already! 3 weeks off).

Craft hour ;
Playing 'cubby houses' with big sister. When Ross says "cubby house" he says "buddy hut" - a very cute and appropriate word I think. We have all adopted this word now "let make the teddies a little buddy hut to play in"......


Spaghetti squash from the garden - was turned into a frittata with added tuna and corn. This veg is really quite remarkable!


And lastly, what to do when your garden gives you green tomatoes? Why, tomato curry!!


YUM!!!